A Thermal Camera with a steampunk aesthetic! This post has been a long time coming. I had most of these parts for separate projects, but I wanted to play with the thermal camera module, and I needed a case for the PyPortal, and it all just came together. The firmware is open source, and the I've licensed the model under an Attribution-NonCommercial Creative Commons (4.0 International License). The case is very simple though, and you could easily design your own. (If you do, send links to me, and I'll include them below!)
Case Design
The case is based on old-fashioned cameras, with a bit of a steampunk flair. I store the device vertically (hence the Logo orientation), and you can use the loops for a wrist strap or lanyard connections to wear it around your neck. You use the camera horizontally (so far). It functions more or less like a modern point-and-shoot, controlled through the touchscreen. I left the side peripherals as well as the ambient light snesor exposed, so you could still use the device with other peripherals.
I started with the premise of more-or-less plug-and-play case for the PyPortal Tytano, with the electronics all using crimped connectors. As the design progressed, I dropped the crimped connectors in favour of sturdier soldered wires and a more compact design. I really enjoy the aesthetic, and I look forward to trying to develop it in future projects.
Caveats
The PyPortal has a very slow screen, and it's limited by thermal sensor read time, especially in Python. My firmware uses C++ for speed, on the Arduino Framework. I still only achieve something like 2fps with checkerboard interlacing to avoid visible wipes.
Additionally, with the MLX90640 coming in around $60 and the PyPortal coming in around the same, it's not significantly cheaper than a much more friendly consumer thermal camera unless you get the parts on sale.
Electronics
- MLX90640 Thermal Camera module from Pimoroni (Any MLX90640 should do, although the supports are lined up for the Pimoroni module).
- Adafruit PyPortal Tytano
- Adafruit PowerBoost 1000C (You could probably use a smaller LiIon charger/PowerPath, this is what I had on hand, and what the supports fit).
- Small Lithium Ion battery (mine is used, don't know strict capacity. ~800mAh?) (Please be very careful with Lithium Ion batteries, even small ones. They can cause fires when used improperly).
- 5mm Power Switch
- Wire (mine is 30 AWG) and a soldering iron.
Hardware
- Required: 4 M3x~16mm bolts (up to 18mm should work)
- Optional: 2-6 M2x~6mm bolts (up to 8mm should work)
I say “2-6” because while the design includes 6 bolt holes for securing the internals, I ended up friction-fitting the thermal camera module and only using two exterior bolts to secure the Powerboost - Required: Hot Glue for securing battery, power switch, and anything else you want to glue.
Source Code + Model
The Firmware can be found on Github. The firmware is pretty bare-bones, but the newest versions are written to support expansion and I do want to revisit this if I find the time.
The model can be found on Printables, along with more specific instructions for printing and wiring.
Questions
If you're familiar with an open thermal image format that's compatible with a camera of this resolution (32x64), please let me know!
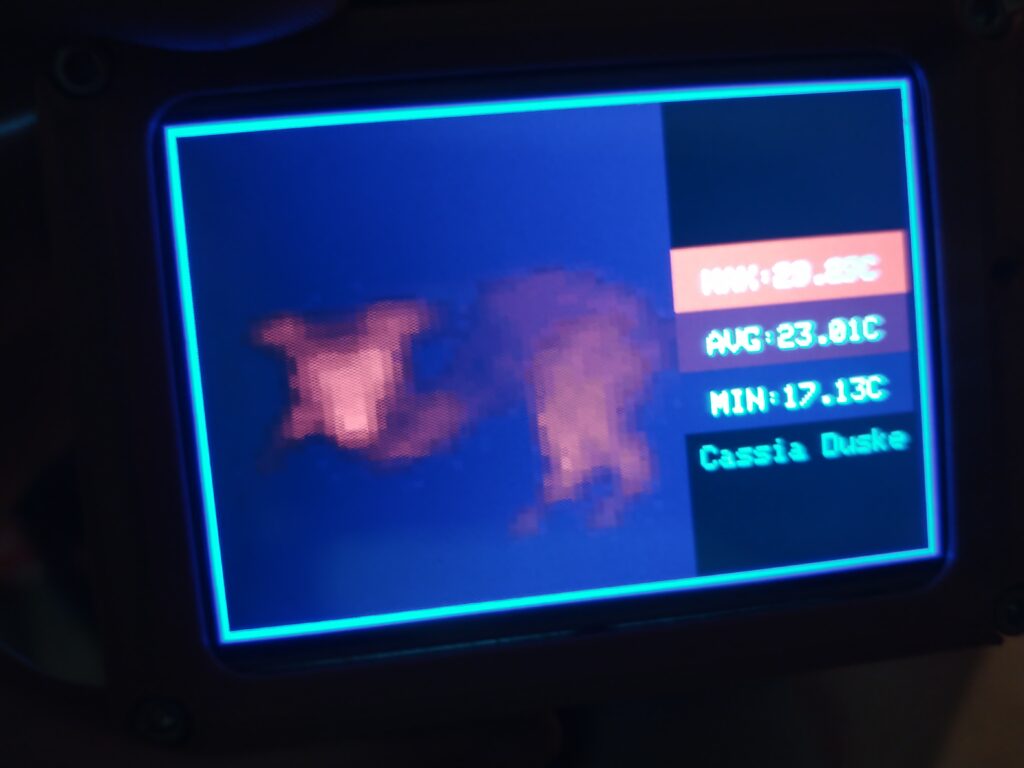
Finally, Please enjoy this image of my dog, taken with the camera:

As always, thanks for reading! And a thanks again to the members of my patreon, who got a few sneak previews of this project in advance, including the above image. They really help me have time to do more stuff like this.


